Building your own wall shelves can transform not just your space, but also your skills and creativity. As you embark on this hands-on journey, imagine the satisfaction of crafting a piece of furniture that truly reflects your style. Let’s delve into the invaluable lessons you’ll gain from this DIY adventure!
What You Will Learn
- Building DIY wall shelves is cost-effective, allowing you to save money versus buying pre-made options.
- You can fully customize your shelves by selecting the ideal size, color, and design that suits your space.
- The joy of crafting your own furniture enhances your sense of accomplishment and boosts future DIY confidence.
- Gathering essential materials and tools ensures a successful build; common items can often be sourced from home.
- Accurate measurement techniques are crucial for perfect installation, ensuring your shelves are both functional and visually appealing.
Understanding the Basics of DIY Wall Shelves
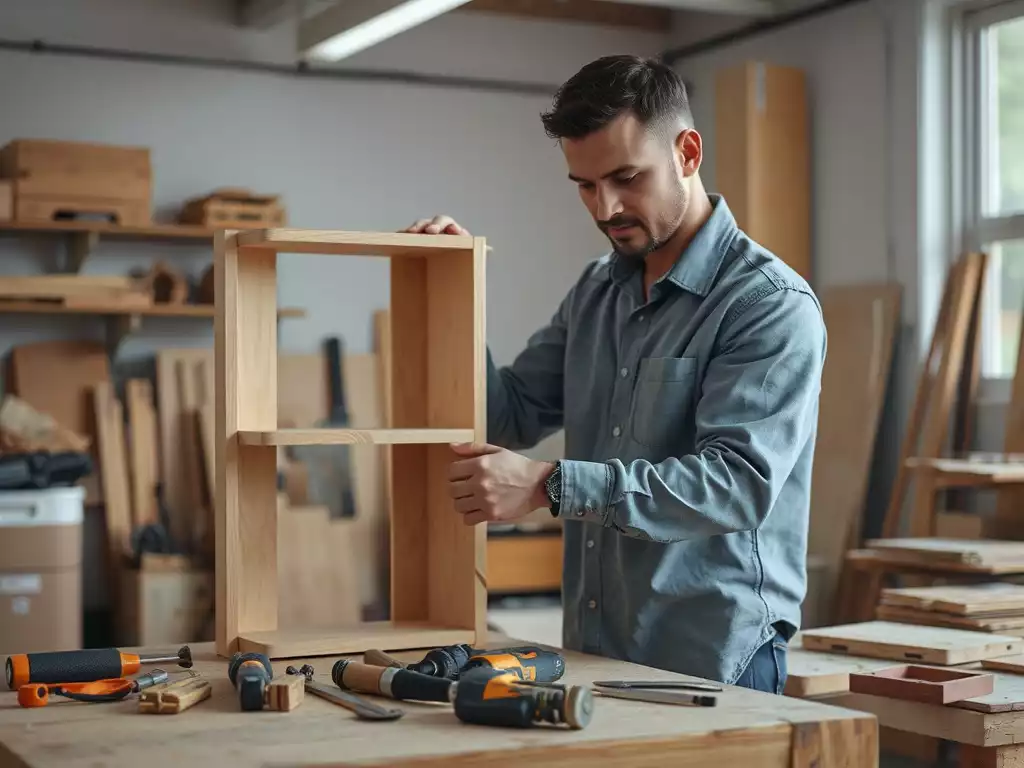
Creating your own wall shelves is an exciting way to add functionality and aesthetic appeal to your space. DIY wall shelves are not only budget-friendly but also allow you to express your personal style. Plus, there’s something fulfilling about constructing a piece of furniture with your own hands!
By choosing to build simple wall shelves, you can customize their design to perfectly fit your needs and decor. It’s a great way to save money while developing your skills. Let’s dive into the reasons why you should consider this rewarding project!
Why Build Simple Wall Shelves?
- Cost-Effectiveness: Building your own shelves can save you a lot of money compared to store-bought options.
- Customization: You have the liberty to choose the size, color, and style that best fits your space.
- Satisfaction: There’s a unique joy in crafting something with your own hands, making it more than just a functional item.
These benefits make DIY wall shelves an appealing option for anyone looking to enhance their home decor. The satisfaction you gain from completing such a project can boost your confidence in tackling future DIY endeavors!
Essential Materials and Tools for Your Project
Before you start building, it’s important to gather the right materials and tools. Here’s a list of essentials you’ll need:
- Materials:
- Scrap wood or pine boards
- Screws and drywall anchors
- Wood finish or paint (optional)
- Tools:
- Stud finder
- Hand saw or circular saw
- Drill
- Level
Many of these materials can be found at your local hardware store, and you might even have some items lying around your home. Using budget-friendly options like scrap wood not only saves money but also promotes sustainability!
Common Measurement Techniques for Accurate Shelf Placement
Getting the measurements right is crucial for a successful DIY project. Here are some effective techniques to ensure you place your shelves perfectly:
- Determine the desired height: Consider what will be placed on the shelf and how much space you need above it.
- Use a level: Always check for level to avoid shelves that tilt or look uneven.
- Mark your drill points: Use a pencil to mark where you’ll install brackets or anchors to ensure accuracy. Proper installation techniques, including the use of a stud finder and appropriate drywall anchors, are essential for stability.
These measurement techniques will help you install your shelves confidently, making sure they are not only functional but also visually pleasing once completed!
We Want to Hear From You!
As you embark on your DIY wall shelf journey, what aspect of the project excites you the most? Is it the thrill of building something with your own hands, the chance to personalize your space, or the satisfaction of a job well done? Share your thoughts below:
Recap of Your DIY Wall Shelf Journey
Congratulations on making it this far in your DIY wall shelf project! Throughout your journey, you’ve learned how to plan, measure, and install shelves that not only enhance your space but also showcase your personal touch. From selecting the right materials to customizing your design, each step has contributed to creating something truly unique!
Let’s quickly recap the essential steps you’ve taken:

- Planning: You measured your space and chose a design that fits your style.
- Building: You prepared and assembled your shelves, ensuring quality craftsmanship.
- Installing: You securely attached your shelves using appropriate hardware. For tips on a smooth installation process, including how to achieve a professional floating shelf look, consider exploring detailed guides.
- Customizing: You added personal decor elements that reflect your taste.
The satisfaction of completing this project is immense! Each shelf you build is a testament to your creativity and skills, making your space feel more like home.
Frequently Asked Questions About DIY Wall Shelves
What are the main benefits of building my own wall shelves?
What essential tools and materials do I need for this project?
How can I ensure my shelves are installed accurately and are level?
Can I use budget-friendly materials for my DIY wall shelves?
Where can I find more inspiration and guidance for future DIY projects?
Next Steps: Engage and Share Your Experience
Now that you’ve beautifully crafted and installed your wall shelves, I’d love to hear about your experience! Have you run into any challenges or discovered fantastic solutions along the way? Please share your completed projects or any questions you might have in the comments below.
Engaging with our community not only enriches your own DIY journey but also inspires others to embark on their own projects. Let’s support each other in this creative endeavor!
- Share photos of your finished shelves.
- Ask for advice or tips from fellow DIYers.
- Provide insights or hacks that worked for you during your project.
Additional Resources for Your DIY Projects
To continue enhancing your skills and exploring new ideas, I’ve compiled a list of excellent resources just for you. These will help you dive deeper into your DIY journey and inspire future projects!
- DIY Tutorials – Comprehensive guides for various projects.
- Video Tutorials – Visual learning for hands-on skills, such as how to build a simple wall shelf.
- Pinterest Boards – Endless design inspiration and ideas, including creative shelf styling ideas.
- Online Courses – Structured learning to expand your DIY knowledge.
These resources will keep you inspired and ready for your next project. Happy DIYing!
Recap of Key Points
Here is a quick recap of the important points discussed in the article:
- Cost-Effective DIY: Building your own wall shelves saves money compared to buying ready-made options.
- Customization: You can design shelves that fit your specific needs in size, color, and style.
- Essential Materials: Gather scrap wood, screws, and basic tools like a stud finder, drill, and level before starting your project.
- Accurate Measurements: Determine shelf height, use a level for even installation, and mark drill points for precision.
- Engagement: Share your DIY experiences and photos with the community to inspire others and gather tips.